
Split AC Installation Guide: Placement, Cost & Checklist
A practical split AC installation guide for Indian homes covering indoor and outdoor unit placement, installation charges, copper pipe cost, electrical safety and commissioning checklist.
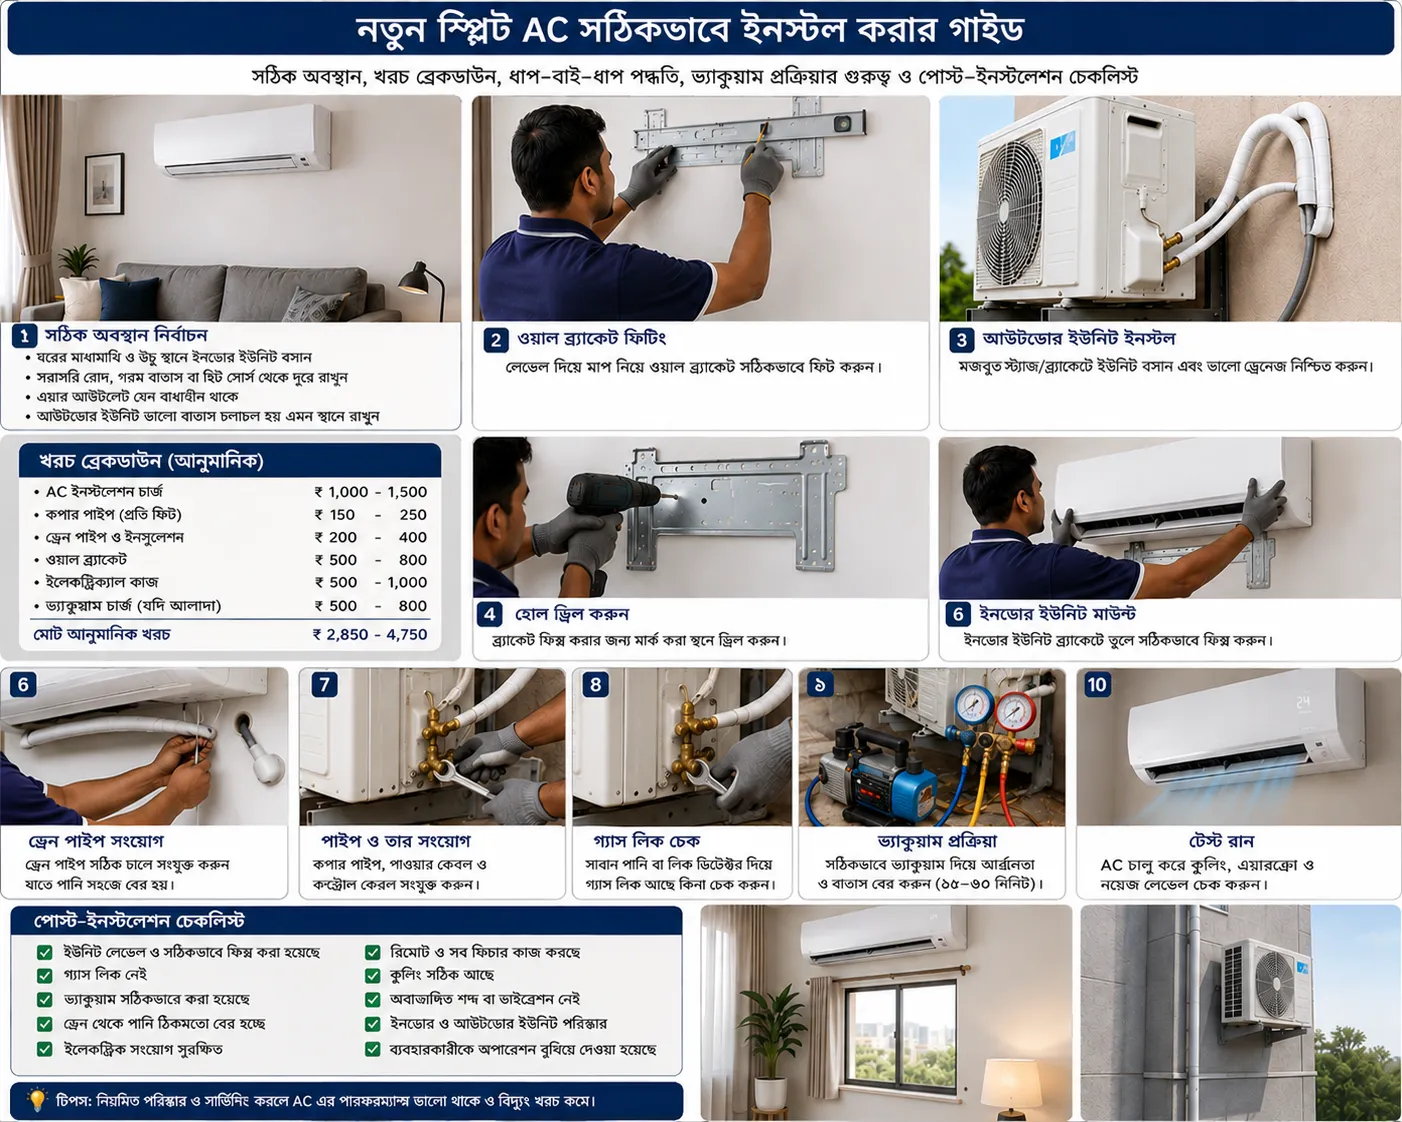
Split AC Installation Guide: Placement, Cost & Checklist
TL;DR: A split AC works well only when it is installed correctly. For Indian homes, the best installation plan checks indoor unit height, outdoor unit airflow, copper pipe length, drain slope, separate electrical wiring, vacuuming, and final cooling test. Budget roughly ₹1,500–₹3,500 for standard installation, plus extra for copper pipe, stand, drain pipe, core cutting, wiring or stabilizer if needed.
Last updated: July 2026
Key takeaways
- Keep the indoor unit high on a strong wall, ideally around 7–8 feet from the floor, with clear airflow across the room.
- Do not hide the outdoor unit in a closed balcony or tight shaft; it needs free air to reject heat.
- Short, clean copper piping usually improves efficiency and reduces installation cost, but avoid awkward bends just to reduce length.
- A proper vacuum pump process before gas release is important for cooling performance and compressor life.
- Ask for a written cost breakup before installation: standard labour, copper pipe, drain pipe, stand, wiring, core cutting and GST.
- Use a dedicated electrical line with correct MCB, earthing and wire gauge instead of running a 1.5-ton or 2-ton AC from a weak plug point.
- Final commissioning should include cooling test, drain test, gas leak check, remote functions and explanation of warranty conditions.
Table of contents
- Why split AC installation quality matters
- Choosing the indoor unit location
- Outdoor unit placement for Indian homes
- Copper pipe length, drain line and wall hole planning
- Electrical wiring, MCB, earthing and stabilizer checks
- Approximate split AC installation cost in India
- Installation day checklist: what the technician should do
- Common installation mistakes to avoid
- After-installation care for better cooling and lower bills
- Practical next steps
Why split AC installation quality matters
Many buyers spend days comparing 1-ton, 1.5-ton and 2-ton models, BEE star ratings, inverter compressors and warranty terms. But after purchase, they allow the installation to be rushed in one hour. That is risky. A good split AC can cool poorly, consume more electricity or leak water if the installation is careless.
In a split AC, the indoor unit and outdoor unit are connected by copper refrigerant pipes, drain pipe and electrical communication cable. The cooling process depends on correct refrigerant flow, clean pipework, stable power and unrestricted airflow. If moisture or air remains inside the copper line, the refrigerant circuit can suffer. If the drain line has no slope, water may drip inside the room. If the outdoor unit is trapped in a hot balcony, compressor pressure rises and electricity use can increase.
This split ac installation guide is especially relevant for Indian flats and independent houses because our homes often have space constraints: narrow balconies, sun-facing walls, dusty outdoor areas, voltage fluctuations and society rules about outdoor unit placement. The right plan before drilling saves money and prevents repeated service calls.
Choosing the indoor unit location
The indoor unit should not be placed randomly above the nearest plug point. Its job is to pull warm room air, cool it through the coil and push it back evenly. Placement affects comfort, noise, drainage and service access.
For most bedrooms and living rooms, install the indoor unit on a strong wall at about 7–8 feet height. There should be enough clearance from the ceiling, usually around 6 inches or more, depending on the brand manual. Avoid installing it too close to the roof slab because return air gets restricted and cleaning becomes difficult.
Try to place the unit so that air can travel along the length of the room. In a typical 10 ft × 12 ft bedroom, the indoor unit often works well on the shorter wall facing the bed side indirectly, not blowing directly on the face throughout the night. In a living room, avoid pointing the airflow directly at a sofa where elderly family members or children sit for long hours.
Do not install the indoor unit above heat sources like a TV, refrigerator, kitchen entry, temple lamp area or direct afternoon sunlight through a window. Heat near the AC sensor can confuse temperature reading. The unit may run longer than necessary because it thinks the room is warmer than it actually feels.
Also check service access. The front cover should open fully for filter cleaning. A technician should be able to reach the unit safely for wet service. If you install the indoor unit above a tall wardrobe or very close to a false ceiling, future maintenance becomes inconvenient.
Indoor unit placement checklist
| Checkpoint | Good practice | Why it matters |
|---|---|---|
| Height | Around 7–8 feet from floor, as per manual | Better air throw and easier drainage |
| Ceiling gap | Leave sufficient top clearance | Helps return airflow and service access |
| Air direction | Along the room, not directly on bed or sofa | Improves comfort during long use |
| Wall strength | Solid brick/concrete wall preferred | Reduces vibration and noise |
| Heat sources | Keep away from TV, kitchen heat and sunlight | Prevents incorrect sensor reading |
| Filter access | Front panel should open comfortably | Makes monthly cleaning practical |
Outdoor unit placement for Indian homes
The outdoor unit rejects heat from the room to outside air. If it cannot breathe, cooling drops and the compressor works harder. This is one of the biggest problems in Indian apartment installations.
A good outdoor unit location has open airflow, shade if possible, safe mounting and service access. A balcony is acceptable only if it is not enclosed with glass or packed with storage items. Avoid placing the outdoor unit inside a closed utility area where hot air keeps circulating. The fan should discharge hot air freely, not towards a wall just a few inches away.
For wall-mounted outdoor units, use a strong powder-coated or heavy-duty MS stand suitable for the AC tonnage. A 1-ton outdoor unit is lighter than many 2-ton inverter units, so do not use a weak generic bracket. The stand must be fixed with proper anchor fasteners, not small screws. In coastal cities like Mumbai, Chennai, Kochi and Visakhapatnam, corrosion is a real issue, so better stand quality and anti-rust coating matter.
If the outdoor unit is placed on a floor or terrace, use rubber pads or a proper base to reduce vibration. Keep it above waterlogging level. During monsoon, terrace drains can choke and balconies can collect water. The outdoor unit should not sit in standing water.
Service access is also important. A location that requires risky climbing may increase service cost or discourage proper maintenance. Before approving a location, ask: can a technician safely clean the coil, check valves and access the electrical box? If the answer is no, rethink the placement.
Copper pipe length, drain line and wall hole planning
Most split AC packages include either no free copper pipe or a limited length, depending on brand, model and offer. In many Indian installations, additional copper pipe is charged per foot. Keeping the indoor and outdoor units reasonably close can reduce cost and improve performance. However, the shortest path is not always the best path if it creates sharp bends, ugly routing or poor drainage.
Copper pipes should be properly insulated. Poor insulation causes sweating, water marks and cooling loss. Joints should be neat and leak-tested. Avoid unnecessary joints because each joint is a possible leak point. If the technician uses old copper pipes from a previous AC, confirm that the pipe size matches the new model and that the line is properly flushed or replaced as advised by the brand. Many manufacturers prefer fresh piping for warranty and reliability.
The drain pipe needs continuous downward slope from indoor unit to the outlet. This is simple but often ignored. If the drain pipe rises even slightly after leaving the indoor unit, water can return and drip from the indoor unit. In high-rise flats, the drain should not drip onto lower balconies, common areas or society walls. Route it to a proper drain point wherever possible.
Wall drilling or core cutting should be planned before mounting the indoor unit. The hole should slope slightly outward so rainwater does not enter the room. After pipes are passed, the gap should be sealed with putty, foam or cement mortar as appropriate. An unsealed hole invites dust, insects, hot air and sometimes rainwater.
Electrical wiring, MCB, earthing and stabilizer checks
A split AC is a high-load appliance. Even a modern inverter AC needs a safe dedicated electrical connection. Do not treat installation as only a carpentry and piping job. Electrical safety is equally important.
For many 1-ton and 1.5-ton ACs, a 16A power point with suitable wire gauge is commonly used, but the exact requirement depends on the model and manufacturer manual. A 2-ton AC may need more careful load planning. Use a dedicated circuit from the distribution board where possible, with correct MCB rating and proper earthing. If your home has old aluminium wiring, loose sockets or frequent tripping, get a qualified electrician to inspect it before AC installation.
Voltage fluctuation is still common in several Indian localities, especially during peak summer evenings. Many inverter ACs advertise wide voltage operation, but that does not mean every home can skip protection. Check the model’s operating voltage range and your local voltage condition. If voltage is unstable, a good quality stabilizer or appropriate protection device may be recommended by the brand or electrician.
Avoid extension boards for split ACs. Also avoid sharing the same line with geysers, microwave ovens or heavy kitchen appliances. Loose plugs, undersized wires and poor earthing can cause heating, tripping and damage to PCB components.
Approximate split AC installation cost in India
Installation prices vary by brand, city, season, wall type and the distance between indoor and outdoor units. Treat the figures below as approximate 2026 ranges and confirm current charges before booking.
| Item | Approximate cost range | Notes |
|---|---|---|
| Standard installation labour | ₹1,500–₹3,500 | Often includes mounting indoor and outdoor units, basic connection and demo |
| Extra copper pipe | ₹700–₹1,200 per metre | Depends on pipe size, brand policy and copper rate |
| Outdoor unit stand | ₹750–₹2,000 | Heavy-duty or anti-rust stands may cost more |
| Drain pipe extension | ₹50–₹150 per metre | Quality and routing affect final cost |
| Electrical wire extra | ₹80–₹200 per metre | Depends on wire size and copper quality |
| 16A socket/plug/MCB work | ₹300–₹1,500+ | Higher if new line from DB is needed |
| Core cutting through RCC | ₹500–₹2,000 | Varies by wall thickness and city |
| Stabilizer, if required | ₹1,800–₹5,000+ | Capacity and brand dependent |
| Dismantling old AC | ₹700–₹2,000 | Gas recovery and height can affect cost |
Example: Suppose your 1.5-ton inverter split AC has standard installation at ₹2,000. You need 3 metres extra copper at ₹900 per metre, a stand at ₹1,200 and extra drain pipe/wire costing ₹600. Your installation-related bill may become ₹2,000 + ₹2,700 + ₹1,200 + ₹600 = ₹6,500, excluding any stabilizer or special electrical work.
This is why it is better to ask for a site inspection or at least share photos with the installer before the visit. A low online AC price can become less attractive if the installation requires long copper piping, difficult drilling and new wiring.
Installation day checklist: what the technician should do
On installation day, keep the invoice, warranty card and brand installation SMS or job number ready. Make sure the technician is from the authorised service network or from a trusted installer accepted by the seller. Unauthorised installation may create warranty disputes for some brands.
Before drilling, confirm the exact indoor and outdoor positions. Ask the technician to mark the bracket position and pipe hole. Check that the indoor unit will not tilt the wrong way. A slight drain-side slope may be required depending on design, but it should not look visibly crooked.
The copper pipe should be cut cleanly, flared properly and tightened with suitable tools. Insulation should cover the cold line well. The communication cable should be connected as per the wiring diagram, not by guesswork. The drain should be tested by pouring water into the indoor drain tray or using the service method followed by the technician.
A critical step is vacuuming the refrigerant line using a vacuum pump. This removes air and moisture before refrigerant is released from the outdoor unit. Some rushed installers skip this or do a very short process. Ask politely whether vacuuming has been done. It is a normal professional step, not an optional luxury.
After commissioning, run the AC in cooling mode. Check for cool air, abnormal vibration, water leakage, unusual sound and error codes. The technician should explain remote basics, filter cleaning, warranty coverage and first service schedule.
Final commissioning checklist
| Task | Ask/observe before signing completion |
|---|---|
| Indoor unit fixed firmly | No shaking, no visible tilt problem |
| Outdoor unit secure | Stand/base stable, bolts tightened |
| Copper insulation complete | No exposed cold copper inside the room |
| Vacuum pump used | Confirm before gas release |
| Drain test done | Water flows outside without dripping indoors |
| Leak check | Valve joints checked for leakage |
| Electrical safety | Proper plug/MCB/earthing, no loose connection |
| Cooling test | AC cools for 15–20 minutes without error |
| Bill breakup | Extra pipe, stand and accessories listed clearly |
Common installation mistakes to avoid
The first mistake is choosing placement for looks only. Many homeowners want the indoor unit perfectly centred on a wall, even if that increases pipe length or causes poor air distribution. Appearance matters, but performance and service access matter more.
The second mistake is installing the outdoor unit in a suffocated location. A decorative grill, glass enclosure or narrow shaft can trap hot air. If the outdoor unit inhales its own hot discharge air, cooling efficiency suffers.
The third mistake is ignoring drainage. Water leakage from a split AC is often not a “gas problem”; it is usually a drain slope, blockage or installation issue. In humid cities like Kolkata, Mumbai and Chennai, condensate water quantity can be high, so drainage must be planned seriously.
The fourth mistake is accepting very long exposed piping without insulation and support. Long pipe runs should be clipped properly and protected from sun, birds and physical damage. Poorly supported pipes vibrate and look untidy.
The fifth mistake is bargaining so aggressively that the installer cuts corners. It is fair to avoid overcharging, but a proper vacuum pump process, good stand, correct wiring and neat sealing take time and materials. The cheapest installation is not always the lowest-cost installation over five years.
After-installation care for better cooling and lower bills
Once the AC is installed correctly, daily habits decide running cost. For most Indian homes, setting the temperature around 24–26°C gives a good balance of comfort and electricity use. Every room is different, but setting 18°C does not cool the room instantly in a magical way; it usually makes the compressor run harder for longer.
Clean the indoor filters every 2–4 weeks during dusty months. If your home is near a main road, construction site or open field, filters may need more frequent cleaning. A clogged filter reduces airflow, increases noise and can cause coil icing in some cases.
Keep doors and windows closed while the AC runs. Use curtains or blinds on west-facing windows during afternoon sun. Seal large gaps under doors if cooling escapes quickly. A 5-star inverter AC will still waste electricity if the room has constant hot air leakage.
Book professional wet service before peak summer if the AC was used heavily in the previous season. Outdoor coil cleaning is important in dusty cities. A dirty outdoor coil makes heat rejection difficult and can increase compressor workload.
For bill estimation, use a simple method. If your 1.5-ton inverter AC averages around 0.8–1.2 kWh per hour after the room cools, and you use it 8 hours per night for 30 nights, monthly consumption may be roughly 192–288 units. At ₹7 per unit, that is about ₹1,344–₹2,016 for AC use. Actual usage can be lower or higher depending on room size, star rating, set temperature, insulation, outdoor temperature and tariff slab. This rough math helps you understand why correct installation and sensible settings matter.
Practical next steps
- Measure your room and decide the indoor unit wall before the technician arrives.
- Identify two possible outdoor unit locations with open airflow and safe service access.
- Ask the seller or brand for standard installation inclusions and extra item rates.
- Confirm whether copper pipe, stand, drain extension, wiring and core cutting are included or chargeable.
- Keep a dedicated power point ready, or call an electrician before AC installation day.
- During installation, confirm vacuuming, drain test, leak check and cooling test.
- Save the installation bill, warranty card and service job number for future claims.
- Clean filters regularly and schedule service before the hottest part of summer.
Conclusion
A split AC is not a simple plug-and-play appliance. The same 1.5-ton 5-star inverter model can feel excellent in one home and disappointing in another if placement, piping, drainage or wiring is poor. Plan the installation before drilling starts, understand the likely extra costs, and insist on basic professional steps like vacuuming and drain testing. A careful installation protects cooling performance, electricity bills and long-term reliability.
About the author
AC Kharcha Team — research-focused AC guides for India. We study AC specifications, installation practices, electricity costs and maintenance issues to help Indian households make better cooling decisions.
Frequently asked questions
What is included in standard split AC installation in India?
Standard installation usually includes mounting the indoor unit, placing or mounting the outdoor unit, connecting a limited length of copper pipe and drain pipe, basic wiring between units, vacuuming, gas release and demo. Exact inclusions vary by brand and seller, so confirm before booking.
How much does split AC installation cost in 2026?
Standard installation is commonly around ₹1,500–₹3,500. Extra charges may apply for copper pipe, outdoor stand, drain extension, wiring, core cutting, stabilizer and dismantling an old AC. Treat all prices as approximate and verify locally.
Where should the indoor unit of a split AC be installed?
Install it high on a strong wall, usually around 7–8 feet from the floor, with enough ceiling clearance and airflow across the room. Avoid direct sunlight, heat sources, blocked return air and locations where filter cleaning becomes difficult.
Can the outdoor unit be installed in a closed balcony?
A closed balcony is usually not ideal because the outdoor unit needs free airflow to release heat. If hot air gets trapped, cooling drops and electricity use can increase. Use an open, ventilated location with safe service access.
Is vacuuming necessary during split AC installation?
Yes. Vacuuming removes air and moisture from the refrigerant line before gas release. Skipping it can affect cooling performance and long-term reliability. Ask the technician to use a vacuum pump as part of commissioning.
Do I need a stabilizer for an inverter split AC?
It depends on the AC model’s voltage range and your local power condition. Many inverter ACs support wide voltage operation, but areas with frequent low voltage, high voltage or fluctuations may still need protection. Check the manual and consult a qualified electrician.
How long can copper pipe be for a split AC?
Each brand specifies minimum and maximum pipe length in the installation manual. Shorter piping is often cheaper and efficient, but the route should still allow proper bends, insulation and drainage. Do not exceed the manufacturer’s limit.
Why is my new split AC leaking water indoors after installation?
Common reasons include incorrect drain slope, blocked drain pipe, poor indoor unit leveling, loose drain connection or clogged filters. Contact the installer or authorised service team instead of opening the unit yourself.
Last updated: 02 Sep, 2026 · Verified by editorial team
About the author
AC Kharcha Editorial Team
AC research & buying guides · India · We research air conditioners, electricity costs, and home cooling practices across Indian climates, then publish practical guides so households can buy and run ACs more confidently.
View all articles →Share this guide
Was this article helpful?
Related posts
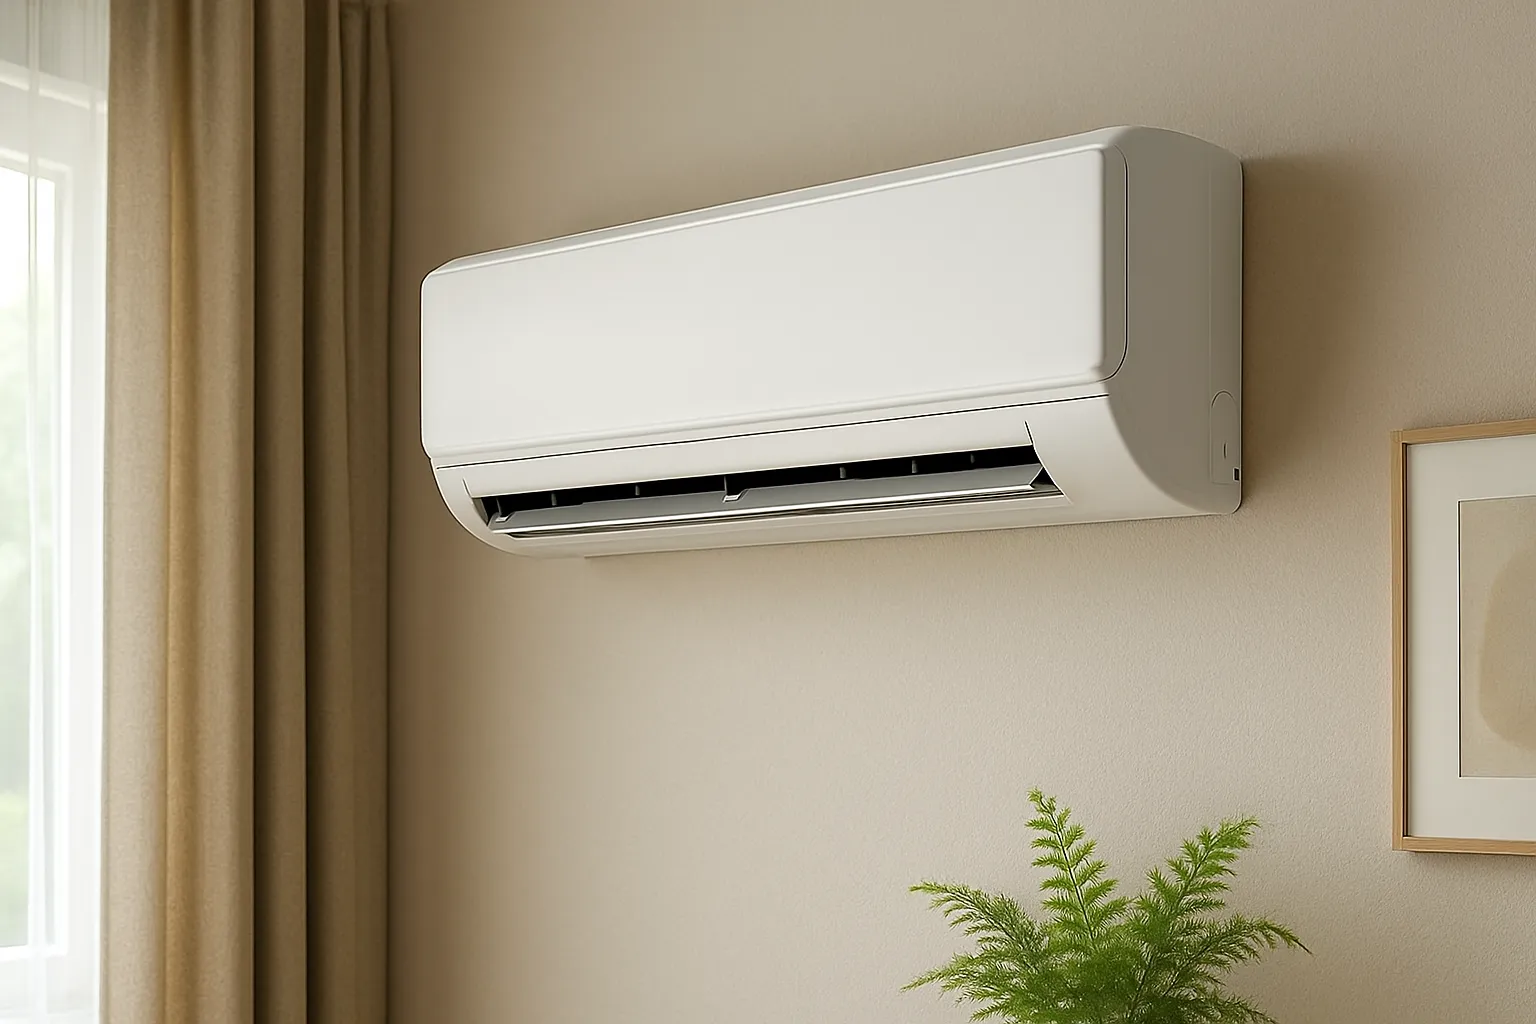 AC installation cost and checklist (India)
Samsung AC installation charges 2026: hidden cost checklist
Samsung AC installation charges 2026 explained for Indian homes, including standard installation, hidden extras, copper pipe, outdoor stand, electrical work and practical checks before paying.
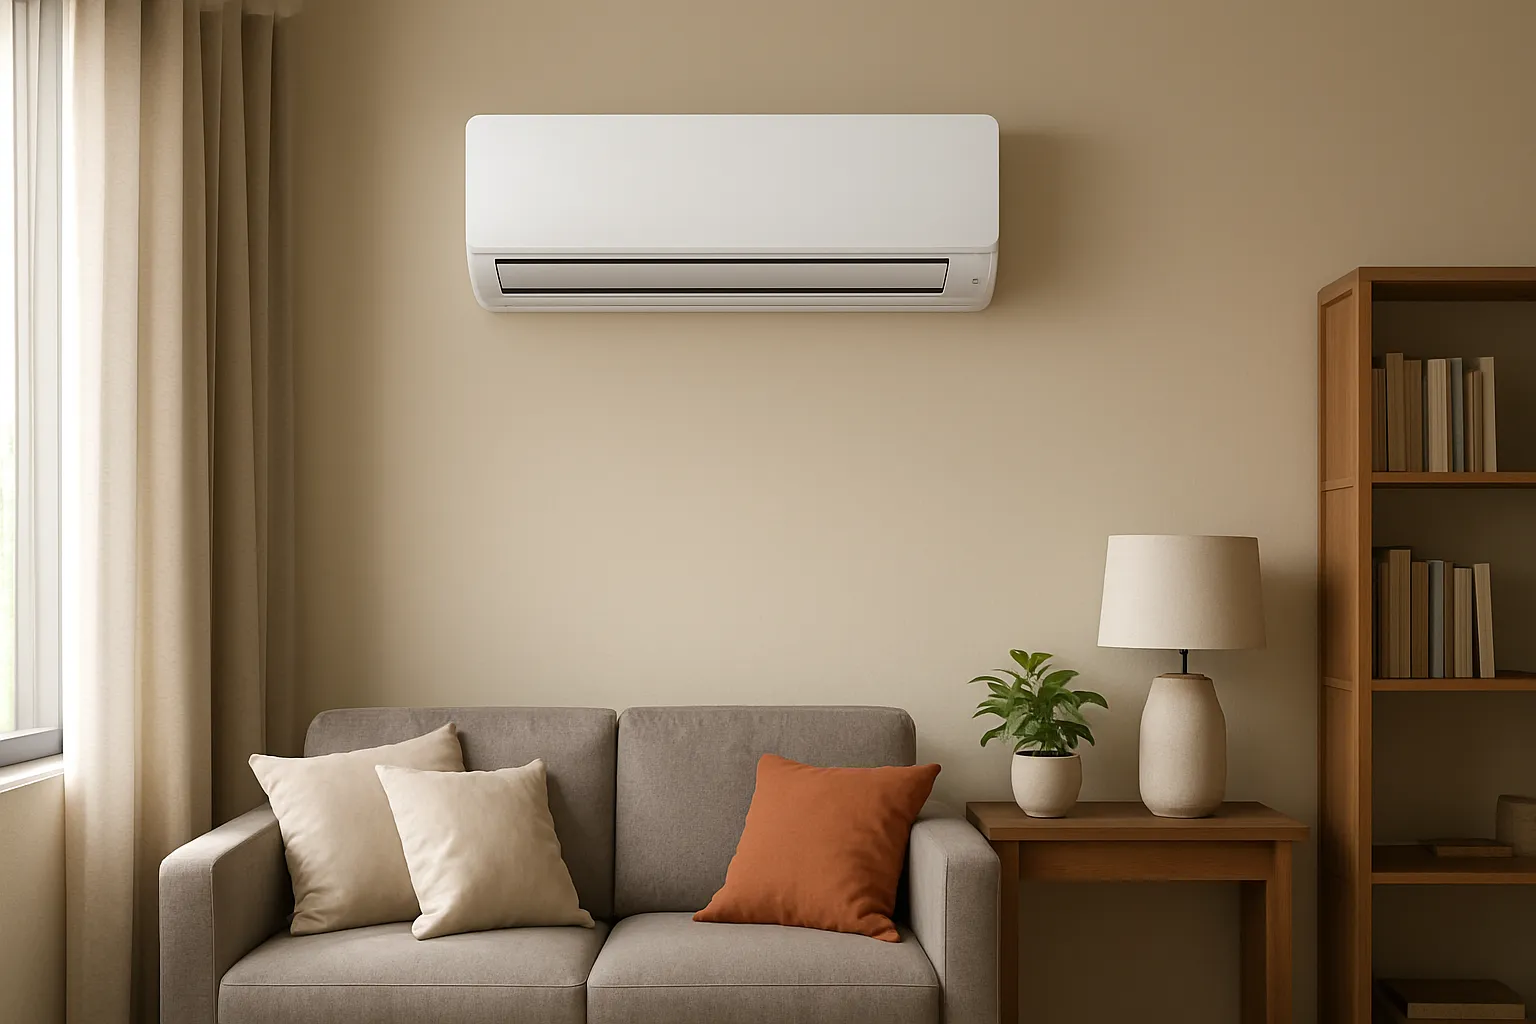 AC installation cost and checklist (India)
AC installation charges in India 2026: LG vs Blue Star | AC Kharcha
AC installation charges 2026 India: LG Blue Star — a practical guide to expected installation costs, extra material charges, warranty checks and site preparation for Indian homes.